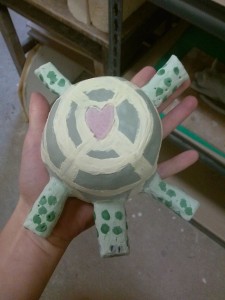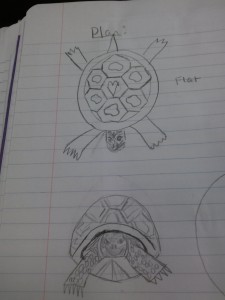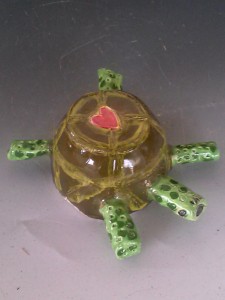
Turtle
Red Earthernware clay, Glaze
2.5″ x 6″ x 5″
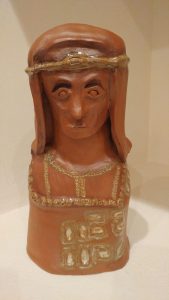
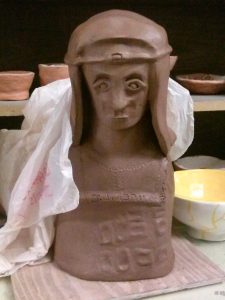
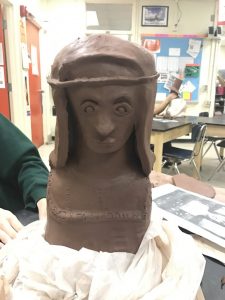
Elisabetta Gonzaga
Red Earthernware clay, Glaze, Terra Sigillata
14″ x 6.5″ x 5″
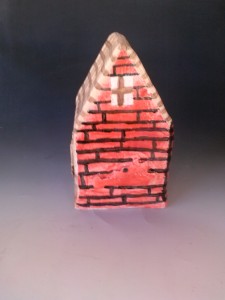
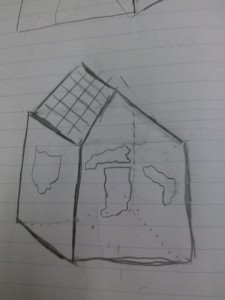
House
Red Earthernware clay, glaze
11.25″ x 6.5″ x 6.5″
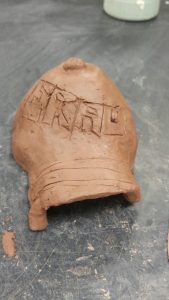
Fletcher
Red Earthenware clay, glaze
3″ x 5″ x 5″

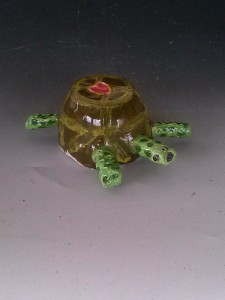
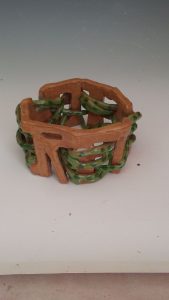
Flower Tripod
White Earthernware clay, glaze
5″ x 3.25″ x 3″
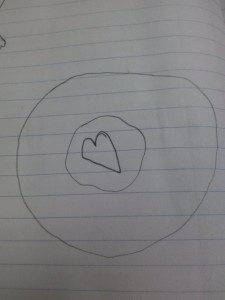
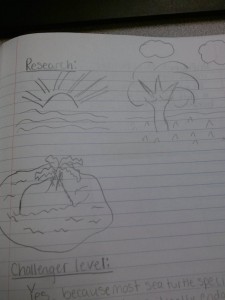
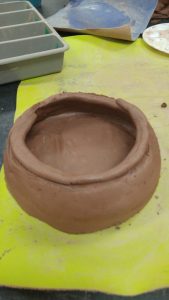
I communicated my house to viewers by having four different states on each side representing where I have lived. The artwork has an impact to those who have moved a lot or traveled to different places. After that, I made a turtle to create emphasis on global awareness since some sea turtles are either endangered or critically endangered. This is why I glazed a red heart on top the shell. I had to solve many problems with my portrait because I messed up the facial features, and I had trouble with the chin and neck being to thick. Overall, I learned a lot from that project because I had no idea how it was going to turn out since I was struggling. My next project I tried to think out of the box and continue to push my boundaries. I created a “Fletcher” sculpture with arrows and coils wrapped around the letters because my last name means arrow maker. It was difficult to connect the letters and coils, but they turned out very well. On one of the technique Tuesdays, I made a three legged pot to further my art making skills. I think I have grown as an artist because I can create original art, solve problems, learn new techniques, and communicate my artwork to the viewers.
I would try to redo my portrait just because I was having trouble and know I could do better after doing it once. I would try to smooth out the portrait more with the rubber rib. I would, also, try to keep wetting down my project because it got hard to fix or smooth the clay. I would adjust the neck and chin to make the head looking completely up since it’s tilted downward a little. Lastly, I would try to fix some of the facial features and make them more realistic.


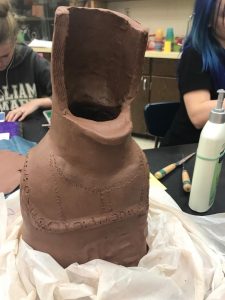


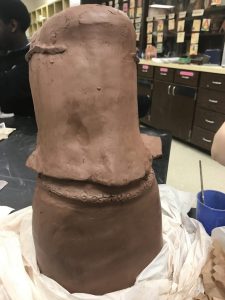
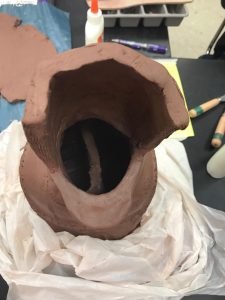
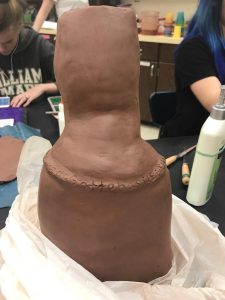 I have learned a new technique of sculpting although it has been hard sometimes. For instance, I built the neck straight up instead of a slant from the back. This made the neck very wide, so I had to cut out the back of the neck to replace it with a slanted slab. The peer progress critique, also, gave me an idea on what to accomplish next and what other people were doing for their fabric. As I was learning the new technique, I had to communicate with my peers and watch the video a couple times especially for the neck, chin, and head. Although the music from the video is repetitive, the videos have helped to visually see what to do; I think it would be a lot harder if we were looking at step-by-step pictures. Consequently, the videos skip some minor details like the chin even though the video was labeled neck/chin. Sometimes, also, it’s a little too fast, but I can get the overall picture watching it a second time. Right now, I’m working on the back of the head first because I had to let the chin dry a bit before putting the front on.